No products in the basket.
Furniture
7 Tips On Wooden Furniture Restoration
12
Jan
Jan
Wooden Fruniture Restoring wood is a labor-intensive process, but the results are worth it. It can be used to give old furniture and antiques new life, or to create one-of-a-kind pieces that show your creativity and skill. Here are seven tips on restoring wooden furniture:
Furniture Placement: How to Make the Most of Your Room’s Layout
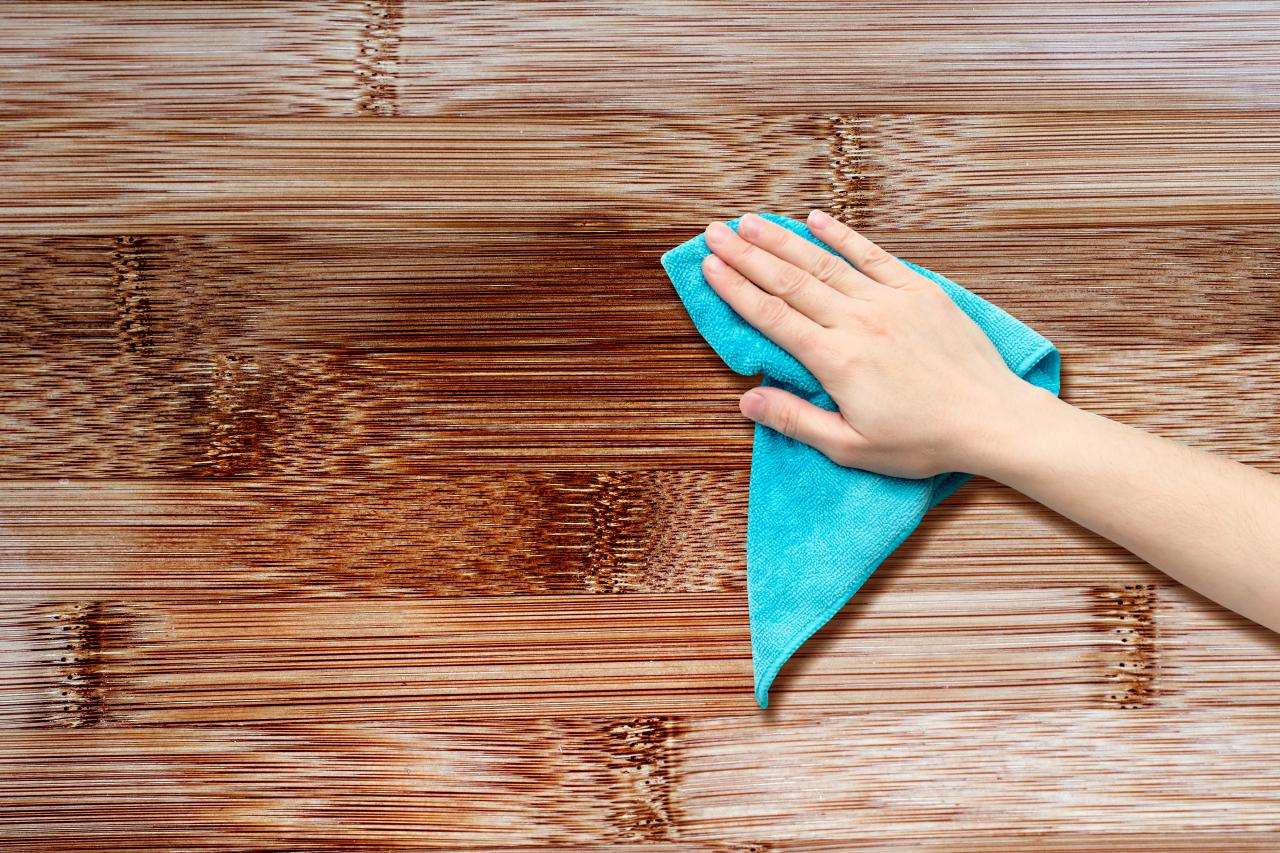
Clean The Wood
Wood can become dirty over time, so it’s important to regularly clean your furniture. Use a damp cloth or soft brush to gently remove dust.If you’re cleaning a hardwood surface such as cherry or oak, you may want to consider using a cleaner made especially for this type of wood. These cleaners contain mineral spirits that will not damage the finish on your furniture piece but will help remove dirt.Don’t use any harsh chemicals when cleaning wooden surfaces—they can damage the finish!Sand It Down
To get started, you’ll need a sanding block. Sandpaper is easy to find at most hardware stores and home improvement centers. Choose medium grit sandpaper (150-180 grit) for the job; it won’t damage your furniture as much as coarser or finer grits would, but it will still get the job done quickly and safely.Next up: how to use that sanding block! For this step, you’ll want to use circular motions instead of back-and-forth movements—this way, you don’t risk gouging or scratching into any part of your wooden furniture. If you’re worried about applying too much pressure or sanding too much of an area, just take some time off from working on one area and move on to another section until all parts have been thoroughly sanded down.Select Your Stain
Select your stain. When it comes to restoring wooden furniture, there are several different kinds of stains that can be used to bring out the wood’s natural beauty. The first consideration when choosing a stain is what color you want the wood to be—if the piece has been painted or stained before, the original color may not be known. In this case, ask your local hardware store manager for advice on matching colors; if possible, have him or her send you samples of different types of stains so that you can experiment with them in advance of starting work on your project.Use a tinted stain. If there’s no telling what sort of paint job was done on your old piece before (or even if it was painted at all), consider using a tinted stain rather than clear finish would be best suited for this purpose because they contain pigments which help match existing shades more closely than bare wood would allow. This way, if there are any imperfections in appearance such as dark streaks running through lighter areas like those created during sanding processes; these anomalies will blend into surrounding surfaces upon application rather than standing out starkly against pale backgrounds like white paint does.Seal It Up
Once you’ve finished the sanding process, it’s time to seal your furniture. First things first: use a sealer that is appropriate for the type of wood you are working with. Don’t just walk into Home Depot and pick up any old can of polyurethane. If you’re dealing with mahogany or teak, use a clear oil-based sealer; if it’s pine or oak, opt for an oil-based stain instead of polyurethane.Next, make sure your finish is made specifically to protect against water damage or UV rays (which can fade wood). It may seem like an unnecessary precaution but it will ultimately keep your newly fixed piece looking nice longer than if you had skipped that step entirely!Create A Custom Color
Creating a custom color is one of the most fun and satisfying parts of restoring furniture. You can use any stain, either pure or mixed with another color, to create almost any shade you want. There are two ways to do this: by hand with a brush or by spraying. If you don’t have experience using these methods, consider hiring someone who does (maybe your local paint store).When applying the stain by hand, use a rag or brush to cover all surfaces evenly with the stain solution. Let it dry completely before using; otherwise you may ruin the finish on your newly restored piece!For an even more striking application, consider using an airbrush or spray gun if you’re comfortable with these tools—they’ll give an even coating without globs in random spots where too much has been applied (which can happen when using something like a roller). Again: make sure everything dries completely before moving on!Don’t Forget The Details
When you’re working on a piece of furniture, the details are what make it unique. They add that little bit of character, and they make your restoration project stand out from others. For example, if you have an old dresser that has been stripped down to bare wood and is ready for refinishing, don’t forget about the hardware! It can be easy to concentrate on applying stain or varnish and forget about putting back all those little knobs and pulls.When you’re sanding down an old chest of drawers or cabinet door, take extra care with those edges! If possible try using a finer grit paper than usual so that your final finish will look smoother than ever before – but even if this isn’t possible just remember these tips when refinishing any kind of wooden furniture piece.Furniture Placement: How to Make the Most of Your Room’s Layout
Conclusion
Restoring wooden furniture and antiques is a great way to add value to an item you already own. It can also be a rewarding process, helping you rediscover the beauty that was hiding within your treasured piece all along. If you are interested in restoring your own pieces, follow these six tips as they will help guide you through the process and make sure that everything goes smoothly!Read More: How to maintain and care for your furniture